

Ammonia test kits are your first line of defence against toxic fish waste in your pond. Since ammonia is invisible and odourless, these kits are the only reliable way to know what's happening in your water before it's too late for your fish.
The Invisible Threat In Your Koi Pond
Imagine a silent, invisible poison seeping into your koi pond. That's ammonia. It’s a natural part of the pond's cycle, created from fish waste and uneaten food. Even at low levels, this compound can cause serious stress, damage your koi's gills, and ultimately lead to death.
You can't rely on your senses to spot it. A pond that looks crystal-clear can still have dangerously high ammonia levels. It's a toxic environment with no visual clues, which is why ammonia is often called the silent killer in fishkeeping.
This illustration drives the point home.
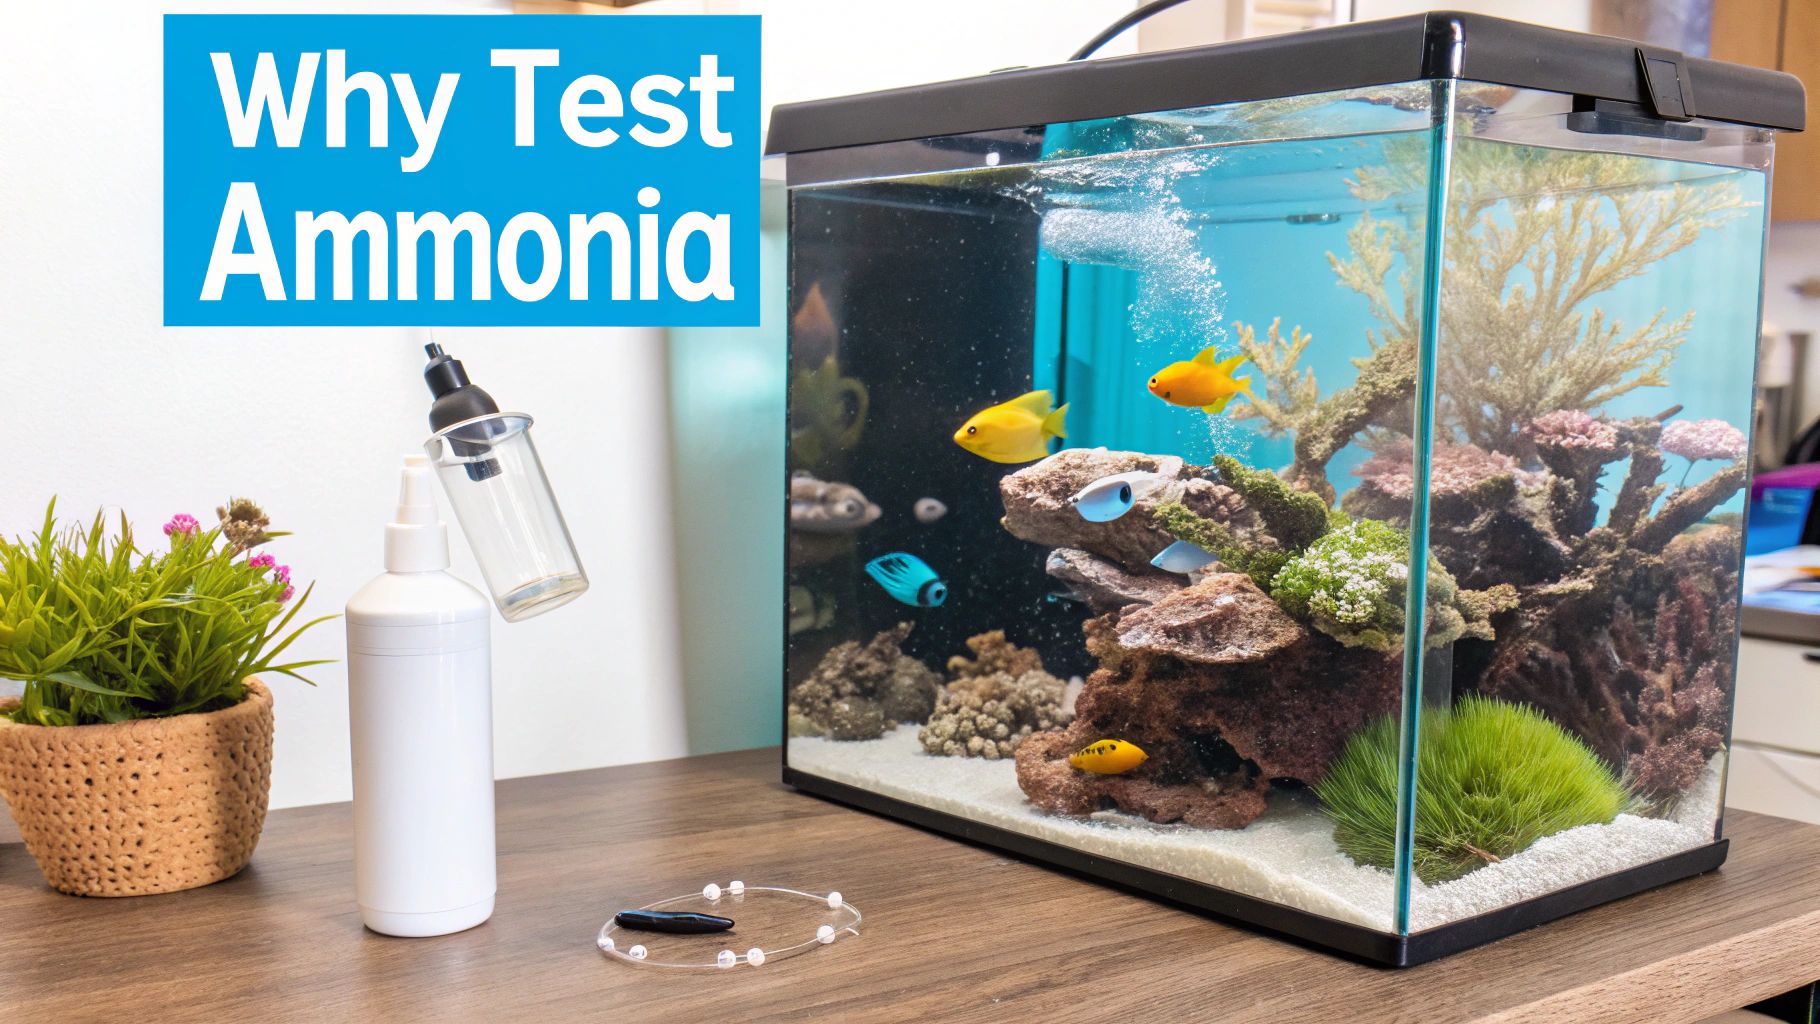
The image highlights a crucial concept: clear water doesn't automatically mean safe water.
Why Regular Testing Is Crucial
An ammonia test kit is the single most important tool in your arsenal. It lets you see the unseen, giving you the data needed to protect your fish before they show signs of distress. Without regular testing, you're flying blind.
Consistent monitoring allows you to:
- Catch ammonia spikes before they become lethal.
- Confirm your biological filter is working correctly.
- Make informed decisions about water changes and feeding.
By proactively monitoring your water, you shift from reacting to emergencies to preventing them. This is the cornerstone of responsible koi keeping.
A comprehensive approach to koi pond water testing means you're not just looking at ammonia, but all critical parameters. This helps maintain a stable, healthy environment for your fish.
Choosing Your Ammonia Testing Toolkit
Not all ammonia test kits are the same. The right one depends on your budget, required precision, and how much time you want to spend. The choice usually falls into one of three categories: test strips, liquid kits, or digital readers.
Here’s a look at the three main types you'll find.
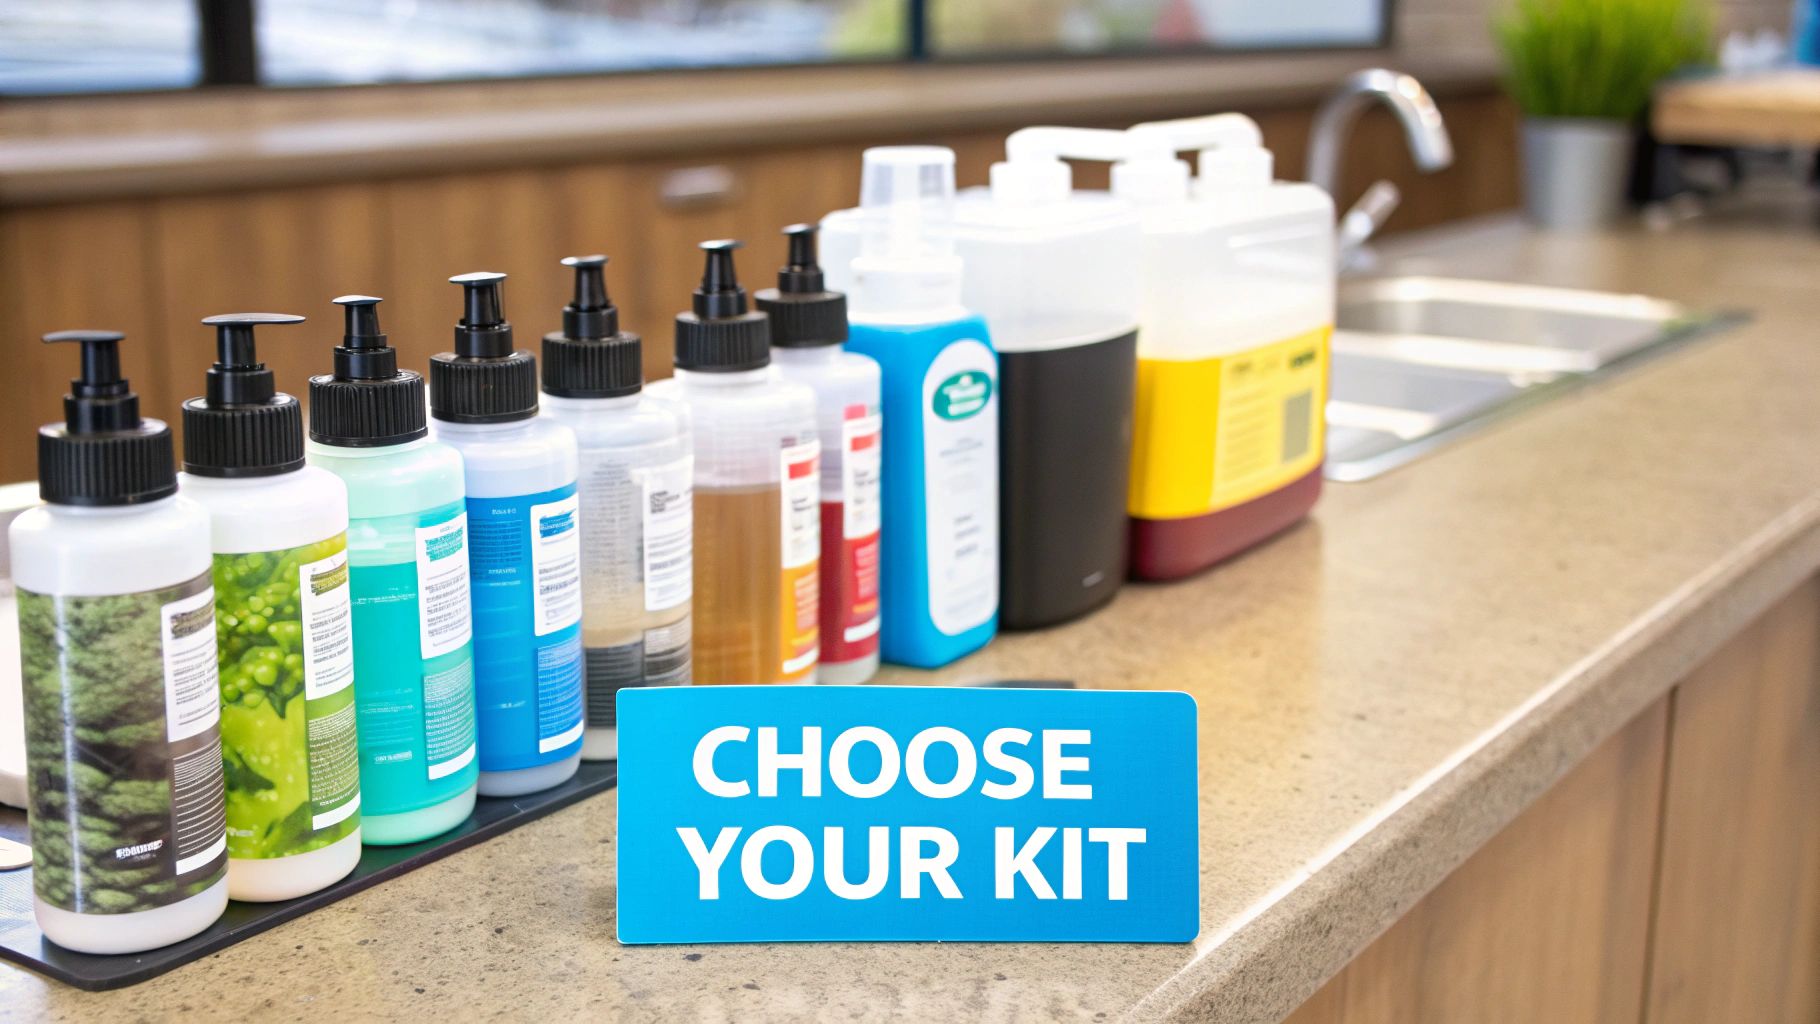
This image shows the progression from simple colour-coded strips to more involved liquid kits and high-tech digital devices.
Test Strips The Quick Glance
Test strips are an early warning system. Dip a strip in your pond water, wait a moment, and match the colour to a chart on the bottle. They're handy for daily spot-checks to quickly see if ammonia is present.
However, convenience comes at the cost of precision. Test strips are great for a general "safe" or "danger" reading but won't give you an exact number. They are a good backup but shouldn't be your only tool.
Liquid Test Kits The Reliable Workhorse
For most pond keepers, liquid test kits offer the best balance of cost and accuracy. This method involves adding chemical reagents to a small vial of pond water. After a few minutes, the water changes colour, and you compare it to a detailed chart.
It takes more effort than a strip, but the results are far more trustworthy. This detail is vital for tracking small shifts in ammonia, especially when cycling a new pond. For a closer look, read our guide on selecting the best water testing kit for ponds.
Digital Readers The Precision Instrument
When you cannot afford to guess, digital readers (or colorimeters) are the ultimate solution. These electronic gadgets remove the guesswork of matching colours by providing a direct numerical reading on a screen. You still mix a water sample with a reagent, but the device analyses the colour for you.
A digital reader eliminates doubt. It gives you a clear, solid number, so you know your exact ammonia level.
This high-tech approach is perfect for serious breeders, those treating sick fish, or keepers who prefer precise data. They cost more upfront, but their accuracy is unmatched.
Comparing Ammonia Test Kit Types
To help you decide, here’s a quick comparison of the three main types of ammonia test kits. This table breaks down their strengths based on accuracy, cost, and ease of use.
| Kit Type | Best For | Accuracy | Ease of Use | Typical Cost |
|---|---|---|---|---|
| Test Strips | Quick daily checks & identifying a problem | Low | Very Easy | £ |
| Liquid Kits | Regular, reliable monitoring for most hobbyists | Good | Moderate | ££ |
| Digital Readers | Breeders, professionals & data-driven pond keepers | High | Easy | £££ |
Ultimately, the best kit is the one you’ll use consistently. Whether you choose the speed of strips, the reliability of liquid kits, or the precision of a digital reader, regular testing is what matters for your koi's health.
How to Get a Perfect Ammonia Reading Every Time
An accurate result from your ammonia test kit depends on good technique. Even the best kit can give a misleading reading if a crucial step is missed. This guide will walk you through the process for a liquid test kit, ensuring you get a perfect reading every time.
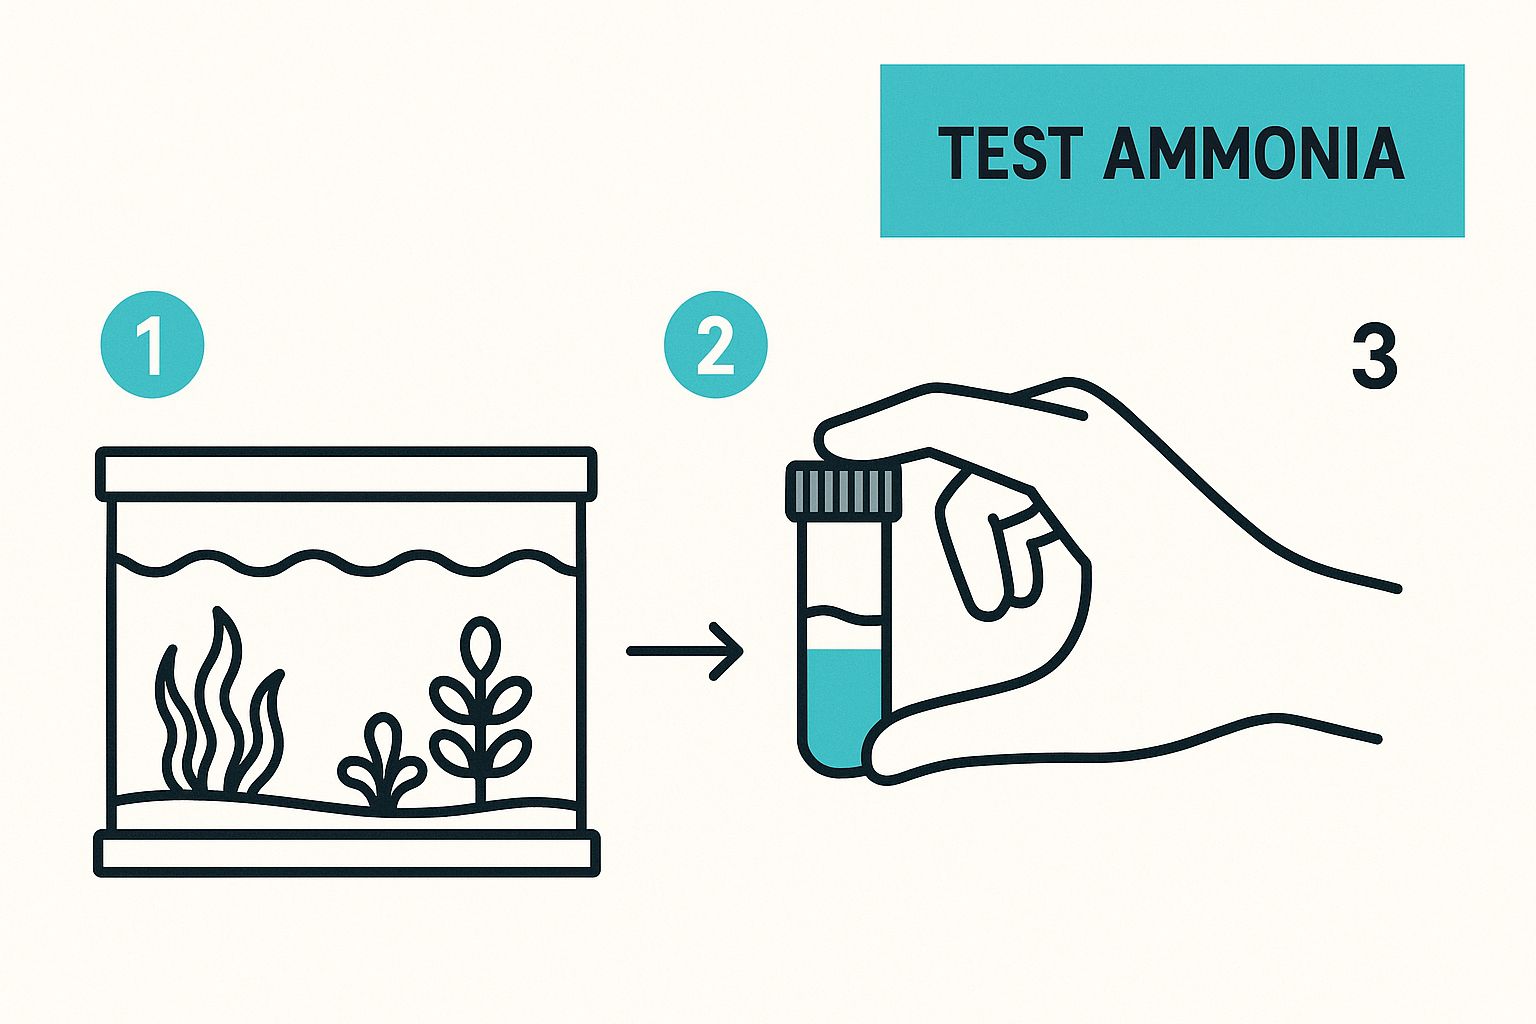
Preparing Your Test
First, get everything you need: your liquid ammonia test kit, a timer, and a clean, well-lit area.
Before collecting your sample, rinse the test vial. Always rinse it with pond water, never tap water. Tap water contains chemicals that can contaminate the sample and skew your results.
To get the water sample, submerge the vial a few inches below the surface to get a representative sample. Fill it exactly to the marked line—too much or too little water will give a false reading.
Performing the Test Accurately
Now it's time to add the reagents. Follow the kit’s instructions to the letter, adding the specified number of drops from each bottle.
For consistent results, hold the dropper bottle perfectly vertical. Holding it at an angle changes the drop size and can lead to an inaccurate reading.
After adding the drops, cap the vial and shake as instructed—usually for about five seconds. Then, set a timer for the specified time, often around five minutes. Don’t rush this step; the colour needs time to develop fully.
Interpreting Your Results
Once the timer goes off, hold the vial against the white background of the provided colour chart. It’s best to do this in good, natural daylight. Poor indoor lighting makes it hard to distinguish between subtle shades.
Carefully match the colour of the water to the closest colour on the chart. This will give you your ammonia level in parts per million (ppm).
By following a consistent and precise method, you eliminate guesswork and can trust the data you're collecting.
For those who want to remove the guesswork of colour-matching, a digital checker is a fantastic alternative. The Hanna Pocket Checker for Ammonia gives you a precise numerical reading, removing any chance of human error.
What Your Ammonia Test Results Are Telling You
A test result is just a colour until you understand what it means for your fish. The colour on the chart is a direct window into your pond's health, translating invisible chemistry into actionable insights.
Each shade corresponds to a specific concentration of ammonia in parts per million (ppm). Understanding these levels lets you know how to fix any problem.
Decoding The Colour Chart
Most liquid ammonia test kits have a chart with a colour gradient, usually from bright yellow to dark green. Think of it as a traffic light system for your water quality.
Here’s a typical example of what a colour chart looks like.
The chart shows how colours shift from safe (yellow) to dangerous (shades of green) as ammonia rises.
The Safe Zone (0 ppm) A bright yellow result is the goal. This means zero detectable ammonia. Your biological filter is working perfectly, and your fish are safe and healthy.
The Caution Zone (0.25 ppm) A faint lime-green colour means you've entered the caution zone. While 0.25 ppm isn't immediately lethal, it's a critical early warning that your filter is starting to struggle.
A reading of 0.25 ppm is your cue to act proactively. It's the pond's check engine light—ignore it, and a bigger problem is likely ahead.
The Danger Zone (0.50 ppm - 1.0 ppm) As the colour turns a more obvious green, you are in the danger zone. At this concentration, ammonia is causing significant harm. Fish will be visibly stressed and their gills damaged.
The Emergency Zone (2.0 ppm and above) A dark green or blue-green result signals a critical emergency. At 2.0 ppm or higher, ammonia is highly toxic and can cause rapid death. You need to take immediate, drastic action.
Your Action Plan Based on Ammonia Levels
Your response should match the severity of the reading:
- 0.25 ppm (Caution): Perform a 25% water change. Reduce feeding for a few days and add a beneficial bacteria supplement. Test again in 24 hours.
- 1.0 ppm (Danger): Perform a 50% water change right away. Add an ammonia-binding water conditioner. Do not feed your fish. Test again in 12-24 hours.
- 2.0 ppm+ (Emergency): Act now. Perform an immediate 50-75% water change, matching the temperature and using a dechlorinator. Use a full dose of an ammonia detoxifier. For advanced monitoring, a tool like the Aqua Master Pro Kit can provide insights into multiple water parameters.
Avoiding Common Mistakes That Skew Test Results
Even the best ammonia test kits are useless if simple mistakes are made. These errors can lead to inaccurate results, causing you to either panic needlessly or relax when your koi are in trouble. An inaccurate reading is worse than no reading at all.
The expired date on the test kit and poor lighting can completely throw off your results.
Overlooking Expiration Dates
One of the easiest mistakes is missing the expiration date on your reagents. These chemicals lose potency over time. An expired kit can give a false low or zero reading.
Always check the date on your kit. If it's expired, get a new one. It's a small price to pay to avoid missing a real ammonia spike.
Rushing the Process
Patience is crucial for water testing. Most liquid test kits need a specific waiting period, usually about five minutes, for the colour to develop. Cutting this time short will likely give you a reading that is lower than the actual ammonia level.
Set a timer as soon as you finish shaking the vial. Resisting the urge to peek early ensures an accurate measurement.
Ignoring Environmental Factors
Your testing environment can also affect results. Two common issues are:
- Poor Lighting: Trying to match colours in dim or artificial light makes it nearly impossible to distinguish between shades. Always try to read your results in natural daylight.
- Contamination: Residue in your test vial can contaminate the sample. Rinsing with tap water is a common mistake. Always rinse the vial with pond water before the test.
Avoiding these simple mistakes ensures your pond management is based on reliable information. For more guidance, check out our article on how to plan your koi pond water changes.
Common Questions About Ammonia Testing
Even when you get the hang of testing, questions can arise. Here, we tackle some of the most common queries we hear from pond keepers about using ammonia test kits.
How Often Should I Test for Ammonia?
This depends on your pond's life cycle. A new pond has different needs than an established one.
-
For a New Pond (During the "Cycle"): When your pond is new, its biological filter is still developing. During this "cycling" phase, you must test for ammonia every day. This is the only way to monitor the nitrogen cycle and ensure levels don't become deadly.
-
For an Established Pond: Once your pond is mature and stable, you can test less often. A weekly check is usually sufficient. However, if you add new fish, change food, or notice odd behaviour, increase testing for a while.
Regular testing helps you learn your pond's natural rhythm. It provides peace of mind when everything is running as it should be.
What Should I Do If I Find High Ammonia?
A high ammonia reading requires swift, calm action to protect your fish.
- Do a Partial Water Change: The fastest way to dilute ammonia is a 25-50% water change. Always use a good dechlorinator for the new tap water.
- Stop Feeding Immediately: Don't feed your fish for at least 24-48 hours. Adding food creates more waste and more ammonia.
- Use an Ammonia Detoxifier: A water conditioner that binds with ammonia will render it harmless, buying your filter time to catch up.
- Give Your Filter a Boost: Add beneficial bacteria to your filter to help process the ammonia spike more efficiently.
Why Is My Ammonia Still High After a Water Change?
If ammonia levels remain high after a water change, it signals a larger, underlying problem.
The most common culprits are:
- Overfeeding or Overstocking: Too many fish or too much food can overwhelm the filter.
- A Clogged or Inefficient Filter: If filter media is clogged with debris, bacteria can't do their job.
- Decaying Organic Matter: A dead fish, uneaten food, or dead plants could be rotting in the pond, leaching ammonia.
If levels stay high, you need to investigate these potential sources. Next steps usually involve a gentle filter clean (using pond water) and a significant reduction in feeding.
For all your pond maintenance needs, from reliable ammonia test kits to premium koi food and top-tier filtration systems, explore the expert selection at Hatton Koi. Visit us at https://hattonkoi.com and give your pond the care it deserves.