

Fish pond test kits are your secret weapon for peering beneath the surface of your pond. They measure invisible parameters—like ammonia, nitrite, and pH levels—that can make or break the health of your fish. Think of them as an essential early-warning system for your pond's delicate ecosystem.
Why Pond Water Quality Is So Important
It’s an easy mistake to make: if the pond water looks clear, it must be healthy, right? Unfortunately, that’s a common misconception. The most dangerous threats to your fish are often completely invisible. Compounds like ammonia and nitrite can build up silently, stressing your fish long before you spot any outward signs of trouble.
Your pond is a tiny, self-contained world. Fish waste, leftover food, and decaying leaves all change the water’s chemical makeup. If that delicate balance is thrown off, the environment can quickly turn toxic.
The Invisible Dangers in Your Pond
Have you ever noticed your usually vibrant koi suddenly acting sluggish or going off their food? Or maybe you’ve battled an aggressive algae bloom that seems to appear from nowhere. These are classic symptoms of poor water quality.
These problems are the direct result of chemical imbalances. High ammonia levels, for instance, can chemically burn a fish's gills, making it hard for them to breathe. This leads to lethargy and can be fatal if not caught in time.
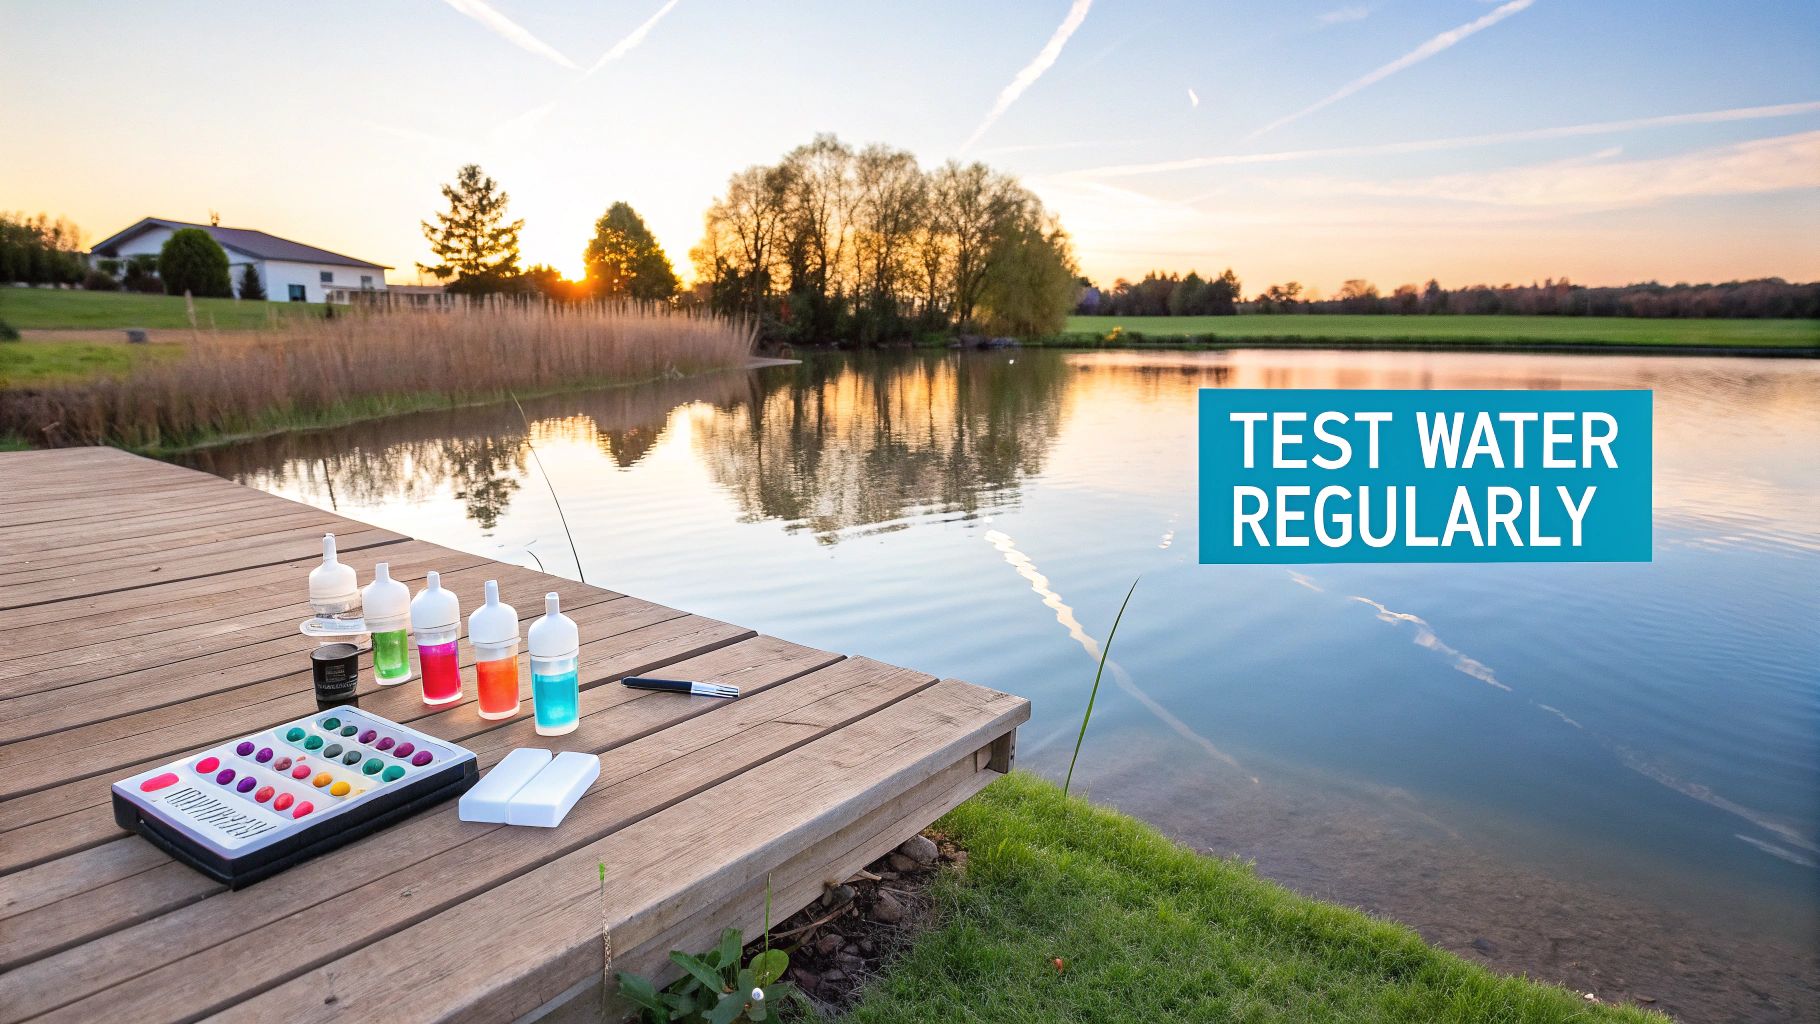
Water testing isn't just a reactive chore for when things go wrong. It is the single most effective form of preventative care you can provide for your pond, allowing you to stop problems before they start and ensure your fish truly thrive.
Understanding what’s happening on a chemical level is critical. The nitrogen cycle is the natural process that keeps a pond safe, where beneficial bacteria convert toxic fish waste (ammonia) into less harmful substances. Using fish pond test kits is the only way to properly monitor this vital process.
From Data to Decisions
Regular testing transforms you from a worried pond owner into a proactive manager. It gives you the knowledge to make smart, informed decisions. When you know your pond's pH, ammonia, and nitrite levels, you can act with precision, right when it's needed.
This data-driven approach is fundamental to keeping a healthy pond. Without it, you’re just guessing. A great filtration system does the heavy lifting of processing waste, but testing is what confirms your system is doing its job. You can learn more by checking out our guide on modern pond water filtration systems. This combination of good equipment and regular monitoring is the real key to a vibrant, healthy home for your prized fish.
How to Choose the Right Pond Test Kit
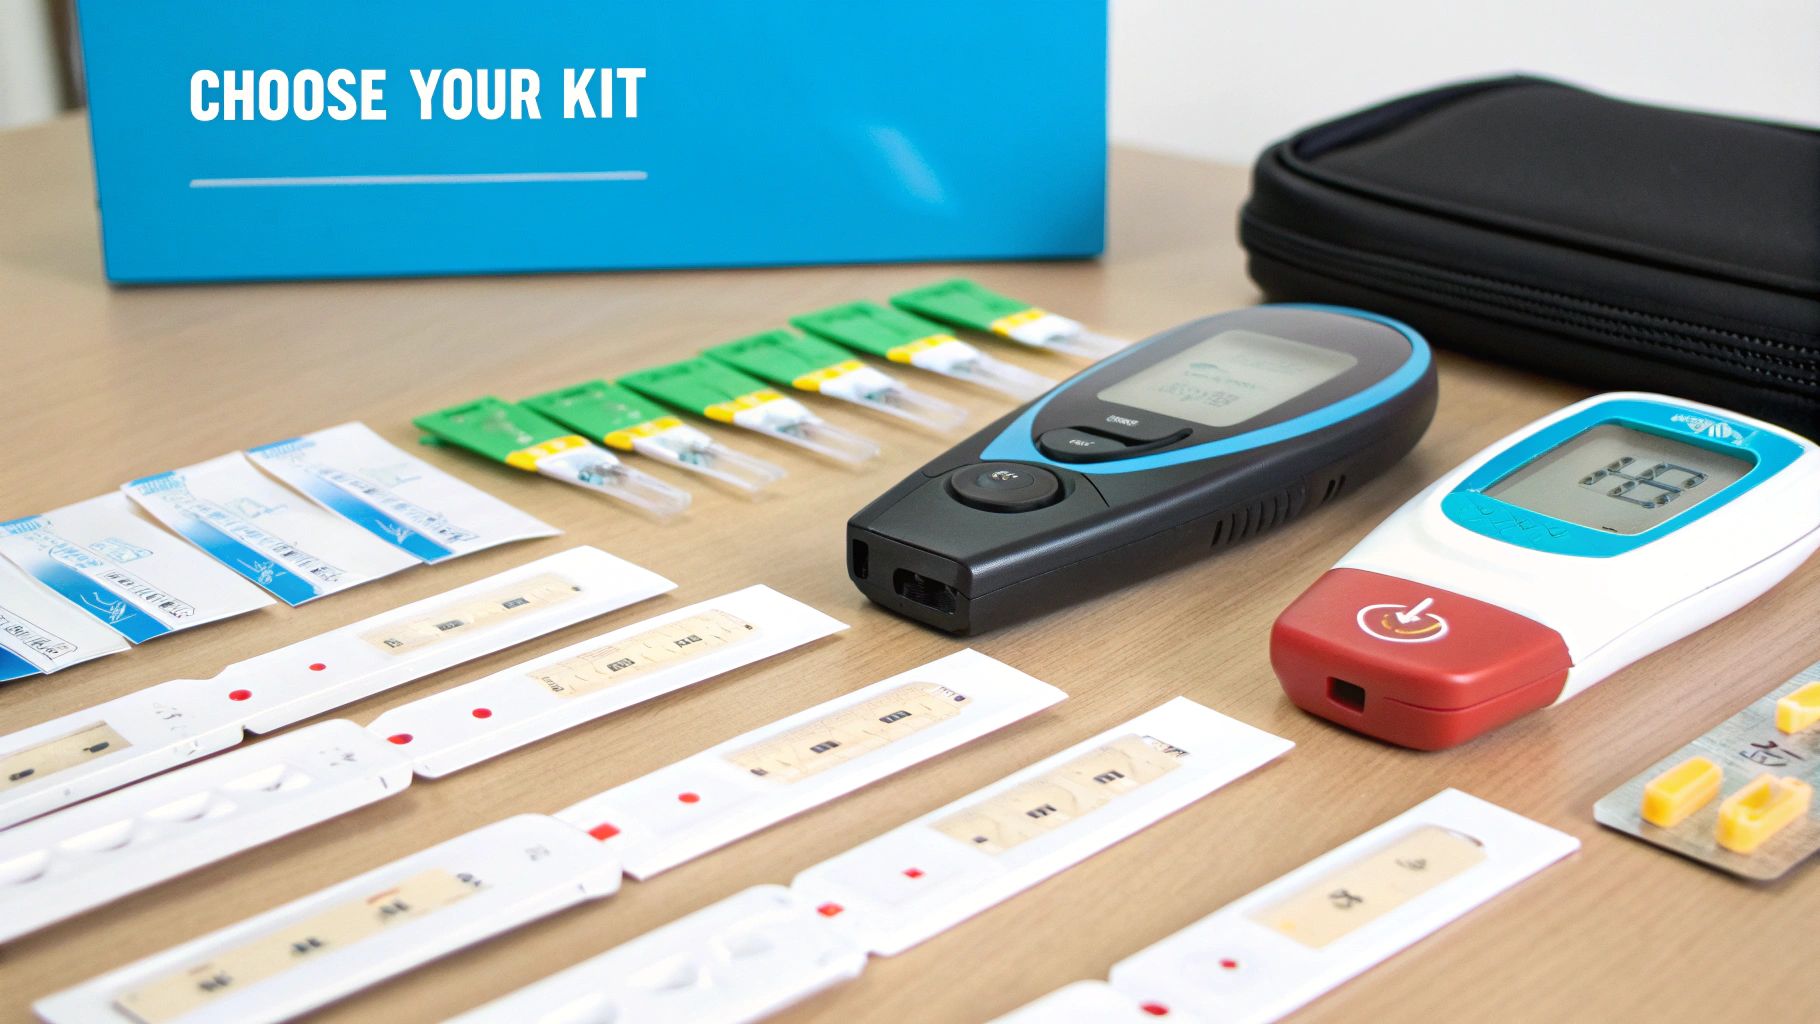
Stepping into the world of pond maintenance means facing an array of fish pond test kits. The key is to match the kit to your needs, budget, and time. Think of it like picking a tool for a job; you wouldn’t use a sledgehammer to hang a picture.
Each type of kit—test strips, liquid kits, and digital meters—strikes a different balance between convenience, accuracy, and cost. Understanding these differences is the first step toward making a confident choice.
Comparing Pond Water Test Kit Types
To help you decide, here’s a quick comparison of the main options available. Consider if your goal is a quick weekly check-up or a deep dive into a specific problem.
| Kit Type | Best For | Accuracy | Ease of Use | Typical Cost |
|---|---|---|---|---|
| Test Strips | Quick, routine weekly checks and spotting major issues. | Low to Moderate | Very Easy | £10 - £20 |
| Liquid Kits | Accurate, regular testing and diagnosing specific problems. | High | Moderate | £20 - £40 |
| Digital Meters | Precision readings, frequent testing, and serious hobbyists. | Very High | Easy | £50 - £200+ |
Ultimately, many seasoned pond keepers end up using a combination. Test strips are fantastic for a quick check, while a good liquid kit is indispensable when you need to get to the bottom of an issue.
Quick Checks with Test Strips
Test strips are the fastest and simplest way to get a snapshot of your pond's health. You just dip a strip into the water, wait a moment, and compare it to the chart on the packaging. They are perfect for routine weekly monitoring.
Their biggest advantage is speed. A 60-second test is appealing, and this convenience means you're more likely to stick to a regular testing routine.
However, this simplicity comes at the cost of precision. Test strips are great for spotting red flags—like a sudden ammonia spike—but they won't give you the nuanced readings needed for fine-tuning your water chemistry. Think of them as an early-warning system.
Getting Accurate Results with Liquid Kits
For most pond keepers, liquid dropper kits are the gold standard. They offer a significant step up in accuracy from test strips without a massive jump in price. These kits involve adding drops of chemical reagents to a measured water sample, which then changes colour.
This method takes more effort, but the payoff is reliable data you can act on with confidence. When you're trying to figure out why your fish seem stressed or you're battling an algae bloom, the precision of a liquid kit is essential.
You'll get much clearer readings for critical parameters like ammonia, nitrite, and pH. This accuracy is vital when making decisions about water changes, adding treatments, or checking your biological filter.
The Precision of Digital Meters
For the serious koi keeper or anyone managing a heavily stocked pond, digital meters are the pinnacle of accuracy. These electronic devices use probes to measure things like pH, temperature, and Total Dissolved Solids (TDS) instantly, giving you a precise numerical reading.
There’s no colour chart to interpret, which removes guesswork. While the initial investment is higher, it provides unparalleled accuracy and is easy to use for frequent testing. Serious enthusiasts often invest in professional-grade tools like the Aqua Master P160 Pro Kit for a reliable all-in-one solution.
Your choice of test kit ultimately comes down to your goal. Are you doing a quick health check or performing detailed diagnostics? Answering this question will point you to the right tool for the job.
The growing awareness of water quality has made these kits more accessible than ever, reflecting a strong interest among enthusiasts in keeping their ponds in top condition.
A Practical Walkthrough for Using Your Test Kit
You’ve picked your test kit, so it's time to get your hands wet. Using a fish pond test kit, especially a liquid one, can feel like a chemistry lesson at first, but it becomes second nature quickly. Think of it less like an exam and more like following a simple recipe.
Let's break this down into a simple, repeatable process. The goal is to build a routine you can trust, so you know the results are a true reflection of what’s happening in your pond. Accuracy is everything—a bad reading is worse than no reading at all.
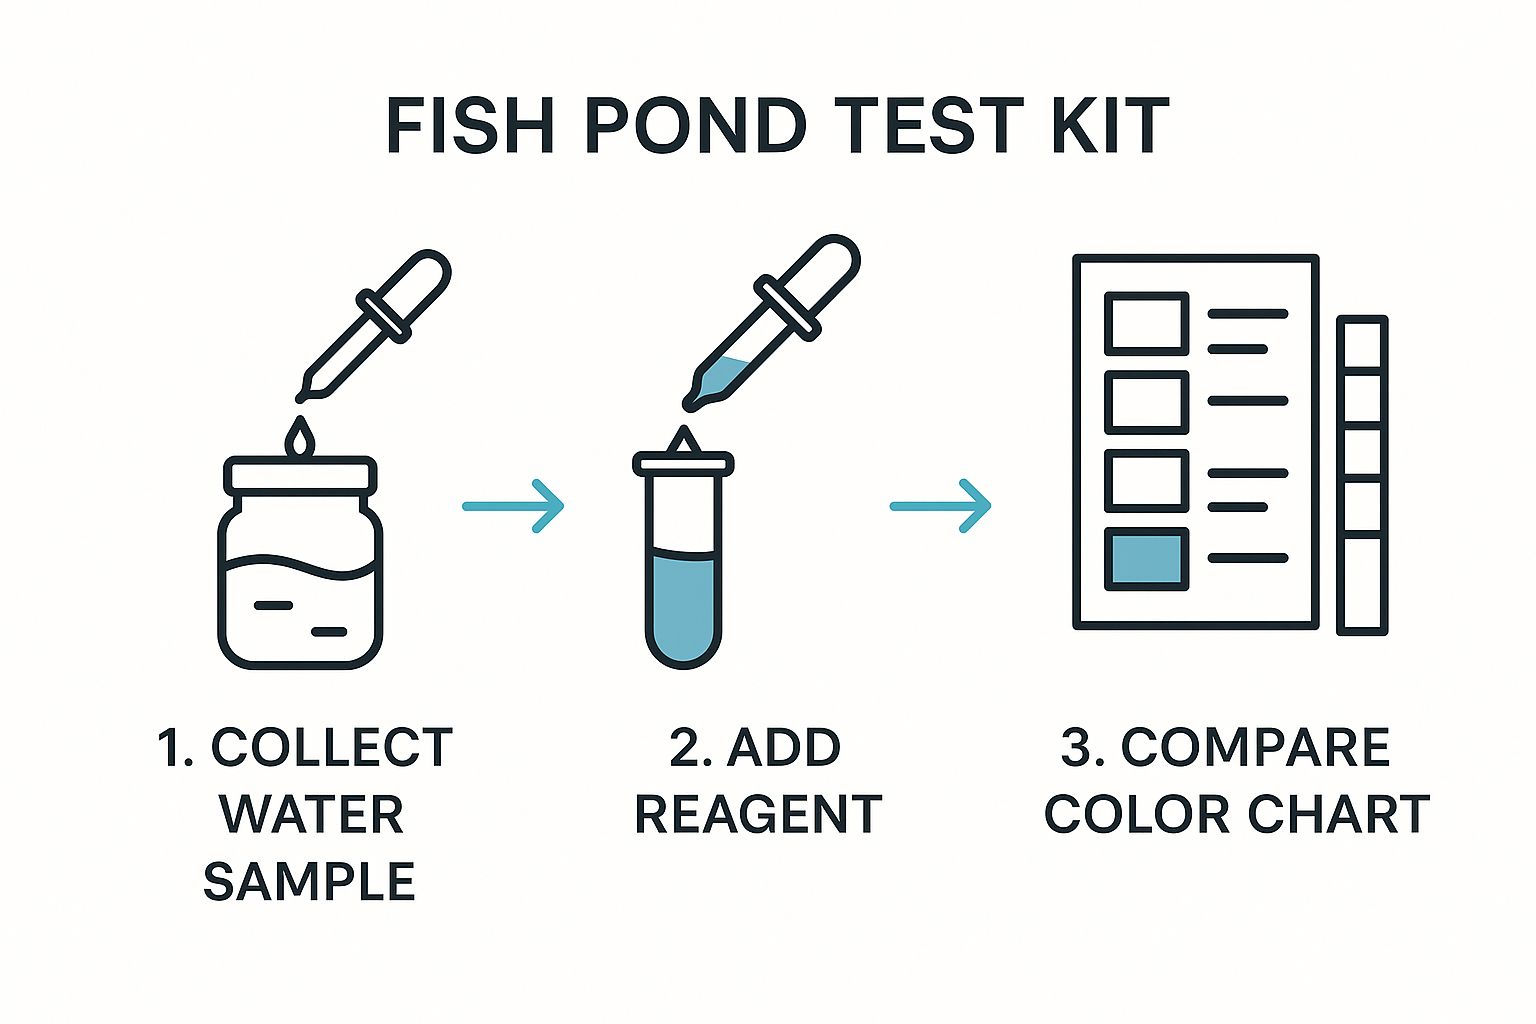
Getting consistent, reliable results comes down to nailing these three key stages every time you test.
Getting a Good Water Sample
The accuracy of your test begins the moment you collect the water. Grabbing it from the wrong spot can give a skewed picture of your pond's health.
- Avoid the surface: Don't just scoop water off the top. The surface often has a film of dust or oils that will interfere with the test.
- Go a bit deeper: Take your sample from about mid-depth in the pond, away from skimmers and filter returns. This gives you a better sample of the water where your fish live.
- Use a clean container: Always use the clean vial from your kit. Any residue from soap or old water can contaminate the sample. Rinsing the vial with pond water before taking the final sample is a good habit.
The Testing Process Perfected
With a good water sample, the next part involves the reagents. Being precise here is non-negotiable for reliable results.
First, fill the test vial precisely to the marked line. When adding reagent drops, hold the bottle completely vertical to ensure every drop is a consistent size. Follow the kit’s instructions on how long to shake the vial to ensure everything is mixed properly.
Many tests need a specific amount of time for the colour to fully develop. Don't rush this. Set a timer on your phone for the required wait, which is typically five minutes for ammonia or nitrite tests. Guessing the time can lead to a reading that’s too light or too dark.
Reading the Results with Confidence
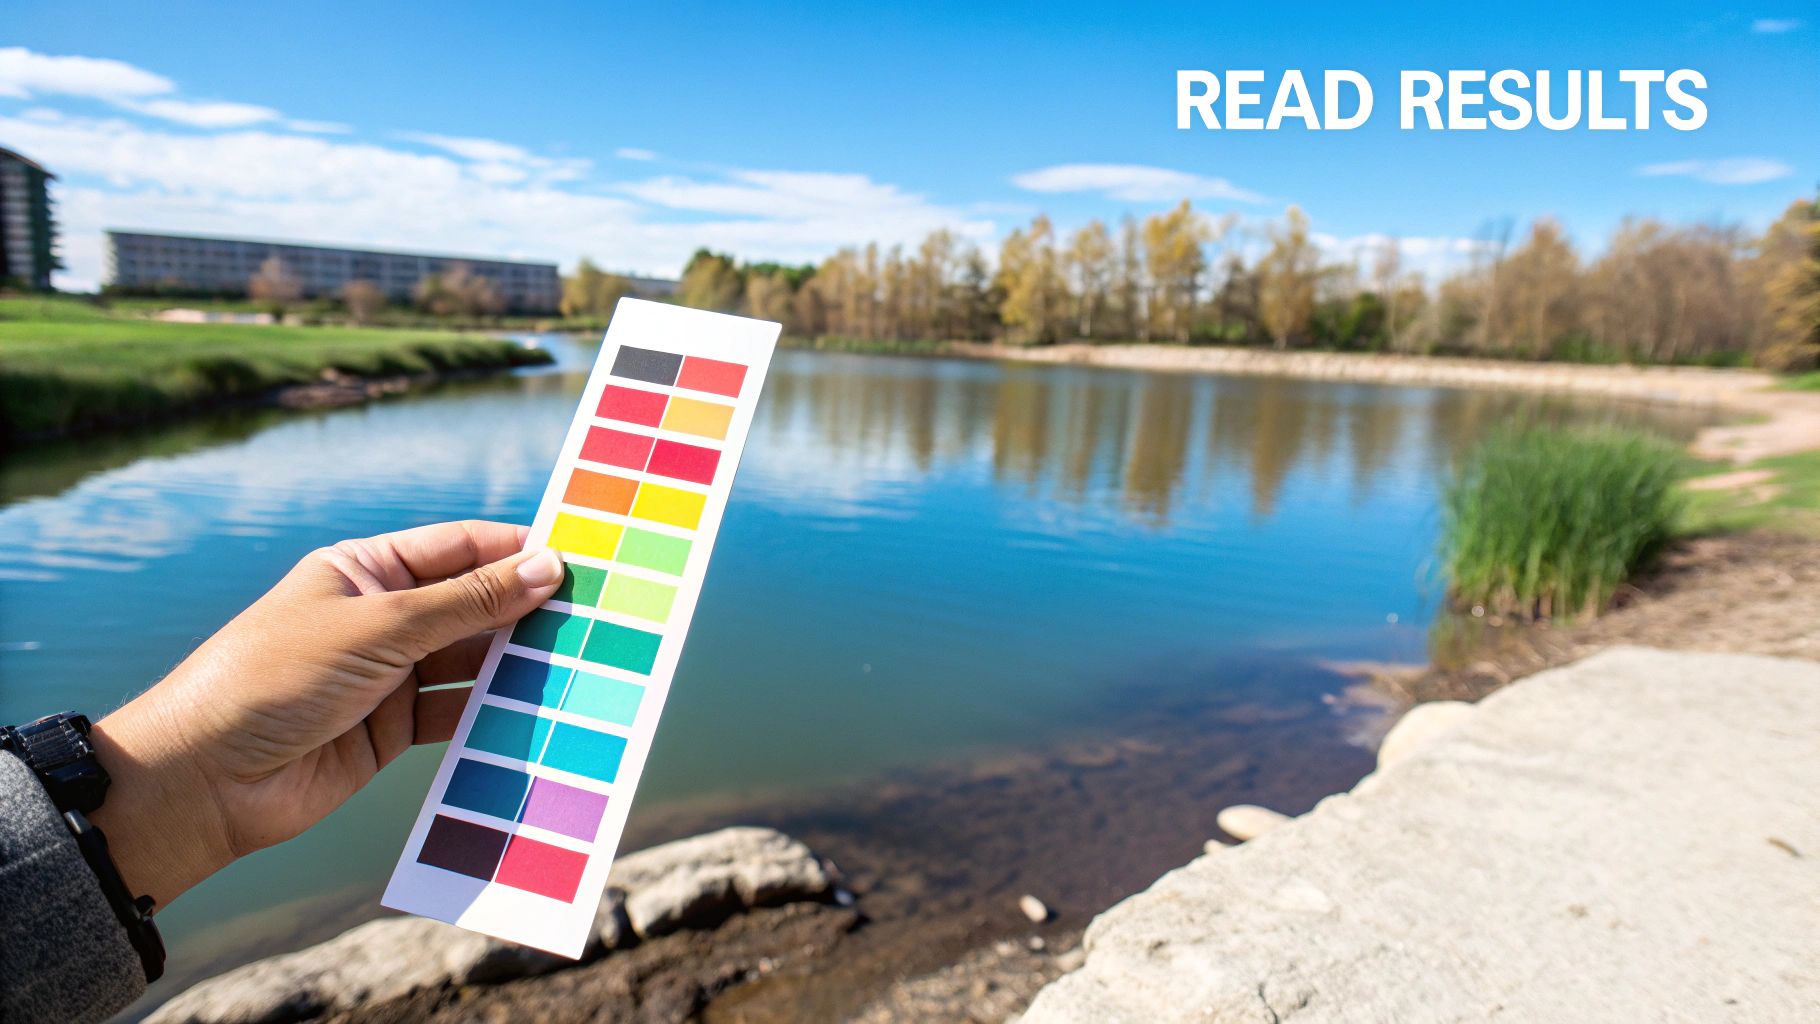
You’ve collected the sample and timed the reaction. The final piece is reading the colour. This is where small, avoidable mistakes can lead to confusion.
The most common error I see when people read a test kit is doing it in poor light. Never try to read the results indoors under artificial, yellow-toned light. Always take the vial and colour chart outside into natural daylight for the most accurate comparison.
Hold the vial against the white background of the colour chart and find the closest match. Sometimes, the colour might fall between two shades. When that happens, it’s safest to err on the side of caution and go with the higher (worse) reading. For example, if your ammonia test is between 0.25 ppm and 0.50 ppm, act as if it's 0.50 ppm. This approach means you’ll take action before a minor issue becomes a major problem.
Finally, a proper clean-up ensures your kit is ready for next time. Give the test vials a thorough rinse with tap water as soon as you're done, followed by a final rinse with distilled or deionised water if you have it. This stops chemical residue from affecting future tests.
Following this process will build your confidence and turn water testing from a chore into a powerful pond management tool. While liquid kits are great for detailed analysis, sometimes you just need a quick pH reading. For those moments, a device like the PH PAL Digital pH Pen Water Tester offers excellent precision without the wait.
What Your Test Results Actually Mean
Getting numbers from your fish pond test kits is a great start, but the real skill is understanding what they mean and what to do next. This is where you transform raw data into a clear plan of action.
Think of it like being a pond detective. Each result is a clue. When pieced together, they paint a vivid picture of the invisible world beneath the surface. Let's decode the most critical parameters and turn those test tube colours into confident decisions.
Decoding Ammonia (NH3)
Ammonia is public enemy number one in any pond. It’s the direct result of fish waste and leftover food. Even a tiny amount is highly toxic, causing stress and burning the delicate gills of your fish.
- Ideal Range: 0 ppm (parts per million). In a healthy, cycled pond, the reading should always be zero.
- What a High Reading Means: Anything above zero is a red flag. It’s a sign of overfeeding, too many fish, or a biological filter that isn’t working efficiently.
If your ammonia test shows any colour, act fast. An immediate 25-30% partial water change will help dilute the toxin. For the long-term fix, find the root cause. Cut back on feeding and check your filter to ensure it's clean and running correctly.
Understanding Nitrite (NO2)
Nitrite is the next stage in the nitrogen cycle. Beneficial bacteria convert toxic ammonia into nitrite. It’s less deadly than ammonia but still dangerous, as it affects your fish’s ability to breathe.
- Ideal Range: 0 ppm. Just like ammonia, the only good number is zero.
- What a High Reading Means: A nitrite reading often indicates "new pond syndrome," where the biological filter is still establishing. It can also appear if the filter has been disrupted.
If you spot nitrite, a small water change is a good first response. Adding a little pond salt (about 1-3 kg per 1,000 litres) can also help protect your fish. The true solution, though, is patience. You need to give the second colony of bacteria time to establish in your filter so they can start converting nitrite into nitrate.
Managing Nitrate (NO3)
Nitrate is the final stop in the nitrogen cycle. It’s far less harmful to fish, but high levels can cause long-term stress. More noticeably, nitrate is rocket fuel for algae.
Your nitrate reading is a key indicator of your pond's overall cleanliness and nutrient load. While not an immediate emergency, consistently high nitrate is a recipe for persistent green water and blanket weed.
- Ideal Range: Keep it below 40 ppm. Fish can handle more, but keeping it low is your best weapon against algae.
- What a High Reading Means: High nitrate means your nitrogen cycle is working perfectly, but nutrients are accumulating.
- How to Lower It: The number one way to reduce nitrates is with regular partial water changes. Aquatic plants are also great at consuming nitrates, so adding more water lilies or marginals can work wonders.
Balancing Your pH
The pH scale tells you how acidic or alkaline your water is, running from 0 (acidic) to 14 (alkaline), with 7 being neutral. For most koi ponds, a stable pH between 7.0 and 8.5 is the sweet spot. Rapid swings in pH are far more dangerous than the exact number.
Sudden shifts in pH are incredibly stressful for fish. A "pH crash," where the water rapidly becomes acidic, can be lethal. This is where another, often overlooked, parameter becomes important.
The Importance of Carbonate Hardness (KH)
Think of Carbonate Hardness (KH) as your pond's pH bodyguard. It measures the amount of buffering minerals—carbonates and bicarbonates—in the water. These buffers neutralise acids produced in the pond, preventing dangerous pH swings.
A low KH reading is a serious warning sign that your pond's pH is unstable and vulnerable to a crash. Keeping an eye on it is non-negotiable. You can easily test for KH, and if it’s low, there are simple products to raise it safely. For those who want pinpoint accuracy, a digital tester like the Hanna Pocket Checker for KH/Alkalinity offers incredibly precise readings.
Pond Water Parameters and Corrective Actions
Here's a quick-reference table to help you make sense of your test results at a glance.
| Parameter | Ideal Range | What High Levels Mean | How to Lower | What Low Levels Mean | How to Raise |
|---|---|---|---|---|---|
| Ammonia (NH3) | 0 ppm | Filter issues, overstocking, overfeeding | Partial water change, reduce feeding, add bacteria | N/A - Low is good | N/A |
| Nitrite (NO2) | 0 ppm | New pond, filter disruption, bacteria imbalance | Partial water change, add pond salt, wait for cycle | N/A - Low is good | N/A |
| Nitrate (NO3) | < 40 ppm | Nutrient buildup, cycle is working | Partial water changes, add aquatic plants | Unlikely, indicates an incomplete cycle | N/A |
| pH | 7.0 - 8.5 | High alkalinity, algae bloom | Partial water changes, add pH buffer (down) | Low KH, acid rain, organic waste buildup | Add pH buffer (up), check KH |
| KH | 80-120 ppm | Hard source water | Dilute with softer water (rainwater) | Natural depletion, soft source water | Add KH buffer/bicarbonate of soda |
Putting these results together gives you a complete health check for your pond. It's a routine that quickly becomes second nature and is the single best thing you can do for the well-being of your fish.
Common Water Testing Mistakes We All Make
Getting reliable data from your fish pond test kits is the whole point, but a few simple mistakes can throw your results off. Understanding these common pitfalls is key to building confidence and ensuring your actions are based on solid information.
A skewed result can lead to unnecessary panic and treatments that do more harm than good. Let’s walk through the most frequent errors and how to avoid them.
Ignoring the Expiry Date
This is probably the most common—and most easily overlooked—mistake. The chemical reagents in your liquid test kits have a shelf life. Over time, they lose their potency and stop reacting correctly. An expired kit might show you a perfect zero for ammonia when your pond has a serious problem brewing.
Before you start any test, glance at the expiry date on the reagent bottles or the box. If it’s out of date, it’s not worth the risk—get a new one.
Misreading the Colour Chart
Reading the final colour of your test vial seems simple, but it’s where many people go wrong. The type of light you use makes a huge difference.
- Poor Lighting: Trying to match the colour under a yellow-toned indoor lightbulb is a recipe for an inaccurate reading. The artificial light can distort the shade.
- The Solution: Always take your test vial and colour chart outside into natural daylight. Hold the vial against the white background on the chart for the clearest, most accurate comparison.
Don't just guess the colour match. If your result seems to fall between two shades on the chart, always be cautious and assume the higher, more problematic reading. This prompts you to investigate further rather than ignoring a potential issue.
Contaminating Your Sample
A clean test starts with a clean sample. It sounds obvious, but any residue left in your test vial, or even oils from your fingers, can contaminate the water and skew the chemical reaction.
This contamination can happen by:
- Not rinsing the vial properly after the last test.
- Touching the inside of the vial or the cap with your fingers.
- Using a dirty container to collect the water.
To prevent this, get into a strict routine. Thoroughly rinse the test vial with tap water after you finish testing. Then, just before you take the sample for your next test, give it a final rinse with the pond water itself. This ensures that the only thing in the vial is the water you intend to measure.
By avoiding these simple mistakes, you can trust that your test kit is giving you a true picture of your pond's health every time.
Frequently Asked Questions About Pond Testing
Even with the best routine, questions will arise. Every pond is unique, and sometimes, the results from your fish pond test kits can be confusing.
We’ve put together the most common queries we hear from fellow pond enthusiasts, designed to give you clear, straightforward answers.
How Often Should I Test My Pond Water?
The honest answer is: it depends on the age and stability of your pond.
- Brand New Ponds: When your pond is fresh and the filter is still maturing (a process called "cycling"), you need to test for ammonia and nitrite every couple of days. These levels will spike and drop as good bacteria get established.
- Established Ponds: Once your filter is mature (usually after a few months), a weekly check-up is generally enough. Testing for ammonia, nitrite, nitrate, and pH once a week will help you spot worrying trends before they become problems.
- When to Test More Often: You’ll want to ramp up to daily testing if you spot signs of fish stress, like gasping at the surface. It’s also wise to test daily after adding new fish, doing a big clean-out, or using any treatments.
What If My Test Kit Results Seem Wrong?
Getting a result that doesn’t make sense can be unsettling. Before you jump to conclusions, run through a quick troubleshooting checklist.
First, check the expiry date on your test kit. Expired reagents are the number one culprit for dodgy readings. After that, review the instructions. Did you follow every step exactly? Even small things, like the waiting time for the colour to develop, can throw off the result.
If you’ve checked everything and you’re still not convinced, the best move is to get a second opinion. Take a water sample to your local aquatic shop. They can usually run a quick test for you, which will either confirm your reading or highlight a problem with your kit.
Can I Use an Aquarium Test Kit for My Pond?
For the most part, yes. The fundamental water chemistry and key parameters are identical in both ponds and aquariums.
Most freshwater aquarium "master" test kits will cover ammonia, nitrite, nitrate, and pH, which are the core parameters you need to monitor. That said, some pond-specific kits have an edge because they also test for carbonate hardness (KH) and phosphates. KH is massively important for keeping your pH stable, and phosphates are a primary fuel for algae growth, so tests for these can be incredibly handy.
Why Is the Nitrogen Cycle So Important?
Understanding the nitrogen cycle is the cornerstone of keeping healthy fish. It’s the natural biological engine that turns a dangerous pool of water into a safe, thriving habitat.
In a nutshell, here’s how it works:
- Fish produce waste, which breaks down into highly toxic ammonia.
- One group of beneficial bacteria, living mostly in your filter, consumes this ammonia and turns it into nitrite, which is also very toxic.
- A second group of bacteria then consumes the nitrite and converts it into much less harmful nitrate.
By testing for ammonia and nitrite, you’re checking if this natural filtration system is running smoothly. In a mature pond, seeing readings of zero for both is the ultimate confirmation that your biological filter is doing its job perfectly.
For more pond-specific help, you can also dive into our own detailed questions and answers page.
At Hatton Koi, we're committed to helping you create the perfect environment for your fish. From precision water testing solutions to expert advice, we have everything you need to maintain a healthy, beautiful pond. Explore our full range of pond care products today at https://hattonkoi.com.